
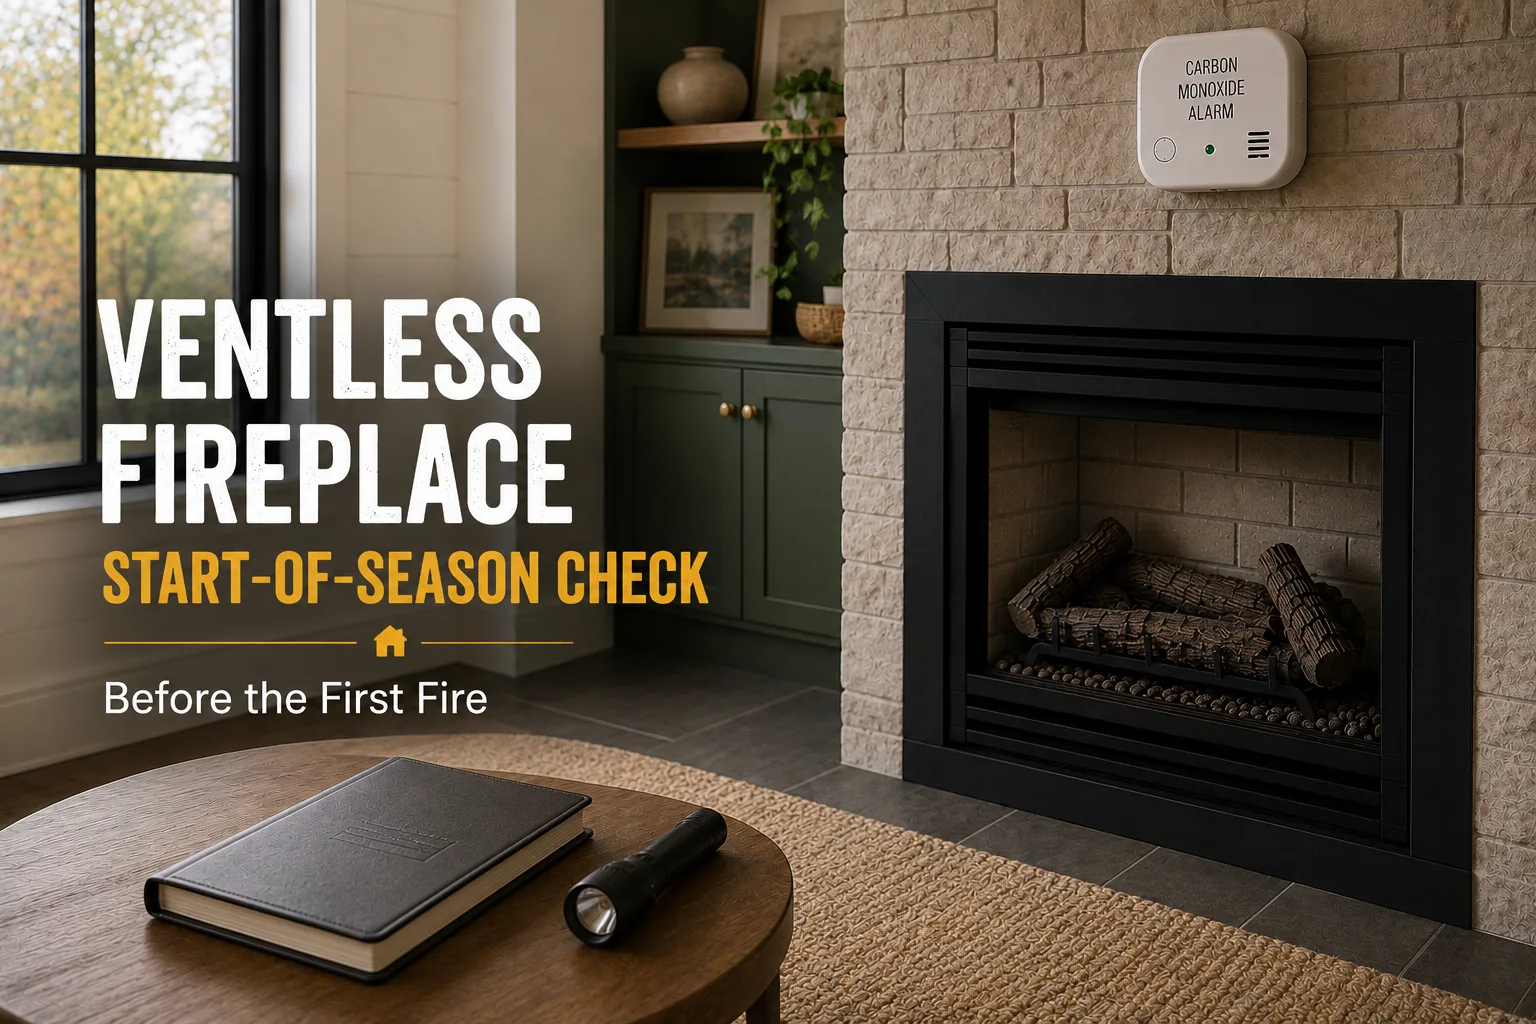
A vent-free gas appliance puts its combustion products into the room, including carbon monoxide, nitrogen dioxide and water vapor. A working carbon monoxide alarm is a condition of operating one, and testing it is item one below. Why it is a condition rather than a suggestion sets out the reasoning.
The appliance has been sitting since March. Dust has settled in it, insects may have been in it, and you have forgotten what the flame looked like. This checklist runs before the first fire, in this order, and four of the items end with calling somebody rather than with lighting it.
Nothing here involves taking anything apart, and nothing here touches the gas supply.
1. Test the carbon monoxide alarm
Press the test button. If it does not sound, replace the batteries and test again. If it still does not sound, replace the alarm.
Then look at the alarm’s own replacement date, which is printed on the back or the side of most units. CO alarms have a service life and an expired one can pass a button test while no longer detecting anything. If it is past that date, replace it before the appliance is used.
If there is no CO alarm in the home, that is where this checklist stops until there is one.
2. Read the data plate and find the manual
The data plate is normally inside the firebox, behind a control door or on the underside of the unit. It carries the manufacturer, model, serial number, fuel type and input rating in Btu/h.
Your manual is the authority for your appliance, and this page is not. Photograph the plate and use the model number to find the manual on the manufacturer’s own website if you do not have a copy. A retailer’s product page is not the manual.
While you have the input rating in front of you, the room check is worth doing once: IRC G2445.5 caps the aggregate input rating of all unvented appliances in a room or space at 20 Btu/h per cubic foot of volume (read through UpCodes, 28 August 2026). If anything about the room has changed since last winter, a partition, a new door, a room divided, the arithmetic has changed with it.
3. Look into the burner area, without touching anything
You are looking for things that arrived over the summer.
- Dust and lint, which is normal and which the manual will tell you how to clear for your unit.
- Insect nests or spider webs in or near the burner ports. Common in appliances that sit idle, and a genuine combustion problem.
- Debris that has fallen in, including anything a child or a pet may have posted through the front.
- Corrosion or flaking metal.
Insects, corrosion or anything you cannot identify is a technician finding, not a cleaning job.
4. Check the logs or media are where they belong
On a vent-free unit the arrangement of the logs or media is a combustion setting, not a decorating choice. They are positioned so that the flame does not impinge where it should not, and moving them changes how completely the fuel burns.
If they were taken out for cleaning, or if anything has been knocked, the manual’s placement diagram is the reference. If you do not have it and cannot find it, that is a call to a qualified hearth technician rather than a guess.
5. Look at the wall above the unit
Soot or dark staining that was not there in March means the appliance was not burning cleanly at the end of last season. Do not clean it off and light the fire. Have it looked at.
This is the single most useful thing on this checklist, because it is a record of last winter that nobody was watching at the time.
6. Check the room has not changed
Furniture moved closer. A new rug. A curtain that now hangs where it did not. A bookcase built in over the summer.
We do not publish a clearance number, and we will not. The distances that apply to your appliance come from its own installation manual and the code adopted where you live, and a general figure taken from a web page is how a house fire starts. If the room has changed and you are unsure, the manual is the document and a qualified hearth technician is the person.
7. Then, and only then, light it
Follow the lighting procedure in your manual. Stay in the room.
Watch the flame for the first several minutes and register what normal looks like on your unit, because that memory is what makes a change noticeable in January.
Expect a smell on the first burn of the season. Dust burning off is ordinary. A smell of gas is not, and the difference matters: if you smell gas, do not continue, get everyone out, and call your gas supplier’s emergency line and then a licensed gas fitter.
Watch for the ODS cycling. IRC G2445.6 requires the appliance to carry an oxygen-depletion-sensitive shutoff acting when oxygen in the surrounding atmosphere is depleted to the manufacturer’s specified concentration, but not lower than 18 percent. If it shuts the unit down repeatedly, that is the safety system working and it is telling you something about the room or the appliance. Never bypass it. What it catches and what it does not is on its own page.
Watch for symptoms. A headache, dizziness or nausea that begins with the fire and eases without it means turn it off, open a door or window, get everyone into fresh air, and do not restart it until a technician has seen it.
The four findings that mean stop
- No working CO alarm, or one past its replacement date.
- Soot or staining above the unit.
- Insects, corrosion, or debris you cannot safely identify in the burner area.
- Any smell of gas, at any point.
Each of these routes to a qualified hearth technician or a licensed gas fitter. This site publishes no gas-line, gas-connection or installation procedure at any depth, and start of season is not an exception to that.
The annual service
A combustion appliance is expected to be professionally serviced before the heating season. We publish no interval in months and no cost figure, because your manual sets the requirement for your unit and prices vary by region.
What a service is buying you is somebody looking at the parts of the appliance this checklist deliberately does not ask you to open.